How to use a visual timer with kids
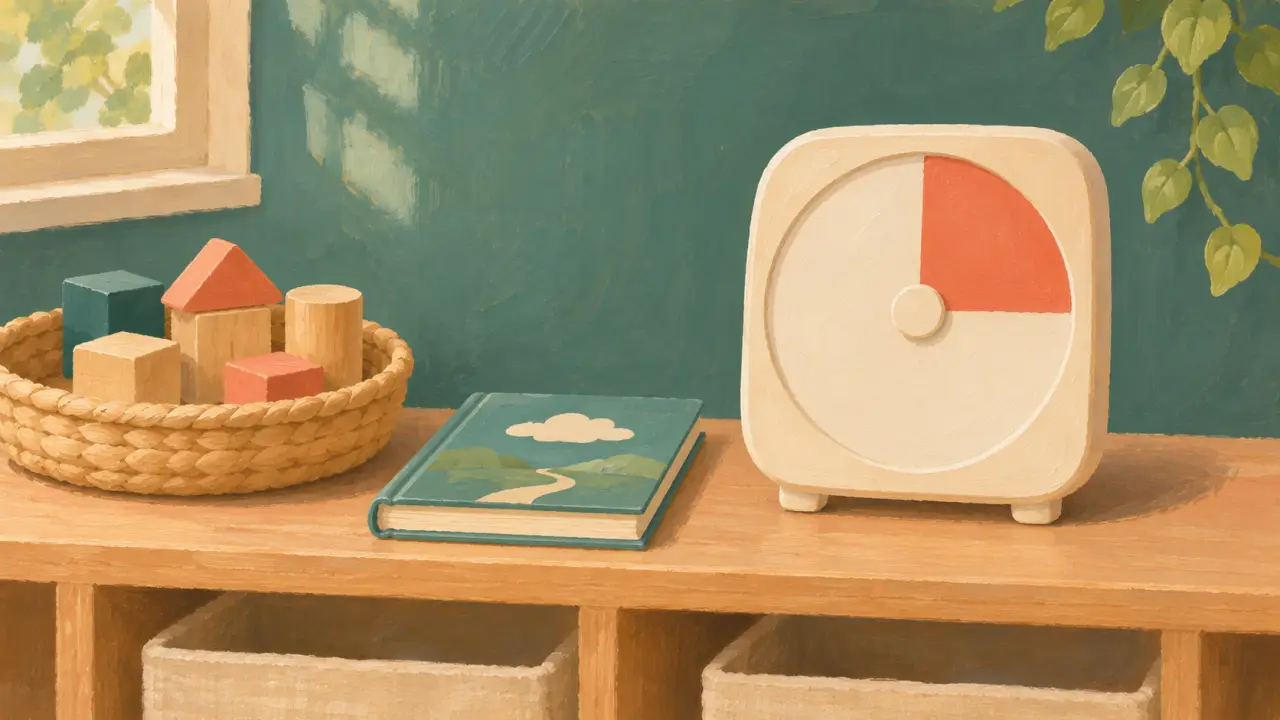
Set a short countdown the child can see. Say what will happen when the shape disappears, then help them take that first step. Start with one familiar transition, such as putting away the blocks before a story.
Show what the timer means
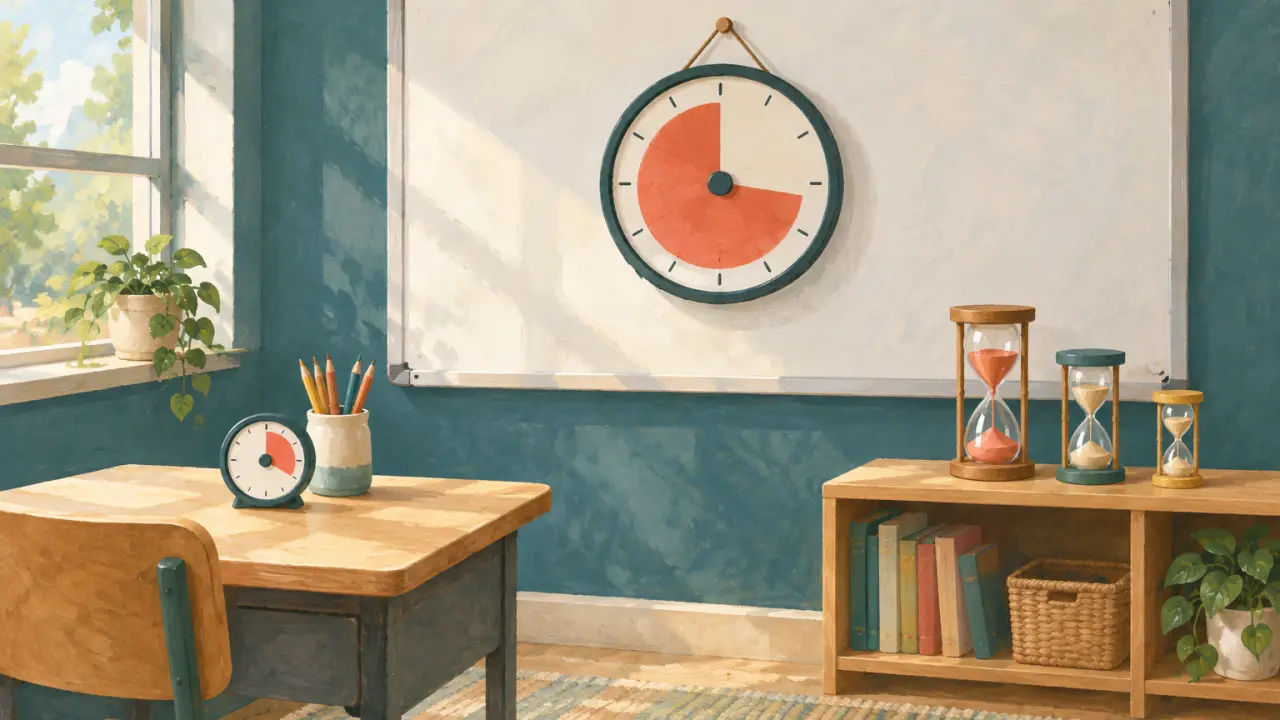
A visual timer represents time left as a shape that gets smaller. You can point to the space still filled in and say “We have this much play time left.” Pick one job for the countdown. If it means “cleanup starts when this ends,” give children time to clean up after it reaches zero.
The University of Colorado Denver’s guide to visual timers suggests pairing a countdown with clear expectations, practicing with short intervals, and placing the timer where children can see it. Try a practice run while things are calm. Set a few seconds, watch together, and let the child tell you when the shape is gone.
Set it up in Clockfresh
- Open the visual timer. Choose 2m or 5m, or enter your own time in Minutes and Seconds.
- Under Visual, choose Disk for a shrinking slice or Bar for a shrinking strip. Clear Show numbers if you want to demonstrate the shape on its own.
- Select Mute finish sound for a quiet transition, or use Preview to hear the selected finish sound. Decide on a cue you can give as soon as the countdown ends.
- Press Start. Use Fullscreen on a shared screen if needed. Check the display from the child’s usual seat and keep the timer visible for the duration.
Try one of these three routines
These durations are examples. Pick a length that leaves the child enough time for the activity and change it after you see how the routine goes.
| Transition | Starting setup | What to say before | What to do at zero |
|---|---|---|---|
| Blocks to story time | 2m, Disk, sound muted | “You have time for one last tower. When the slice is gone, we’ll put the blocks in the basket.” | Bring the basket over and put the first block away together. |
| Free play to lining up | 5m, Bar, on a shared screen | “When the bar is empty, park what you’re playing with and come to the door.” | Show where unfinished work goes, then point to the place to line up. |
| Table work to a check-in | 5m, Disk, sound muted | “Work on this part until the slice is gone. Then we’ll look at where you got to.” | Ask the child to show the next step or where they’d like help. |
Adjust the routine when it stalls
If the child keeps asking how long is left, check whether they can see the shape. Show the start and finish again using a short practice run. A picture of what comes next can also make the signal easier to act on. For the blocks example, put the basket in sight before pressing Start.
If watching the countdown takes attention away from the activity, use one spoken reminder and put the display where the child can glance at it when they want. Keep the first step small. “Put this block in the basket with me” gives them something to do right away.
For stations and group activities, find the other tools in the teacher toolkit. For a room that already reads digits comfortably, the fullscreen timer gives you a large numeric countdown.
Questions
- Should I use the disk or the bar?
- Try the disk first if you want to point to a shrinking slice. Try the bar if a long shape is easier to see from where the child sits. Let them show you which one they can read.
- Do I need to use the finish sound?
- You can select Mute finish sound and point to the display or say what comes next. If you're using a sound, preview it at the volume you'll use in the room.
- What if cleanup takes longer than planned?
- If the countdown was a warning, begin cleanup together when it ends and give the task its own time. If it was for cleanup itself, finish the last step together and shorten or simplify the task next time.
Sources checked
- CU Denver advises keeping the timer visible, explaining what will happen when it ends, and starting with short practice intervals. ucdenver.edu ·